Last updated November 22, 2026
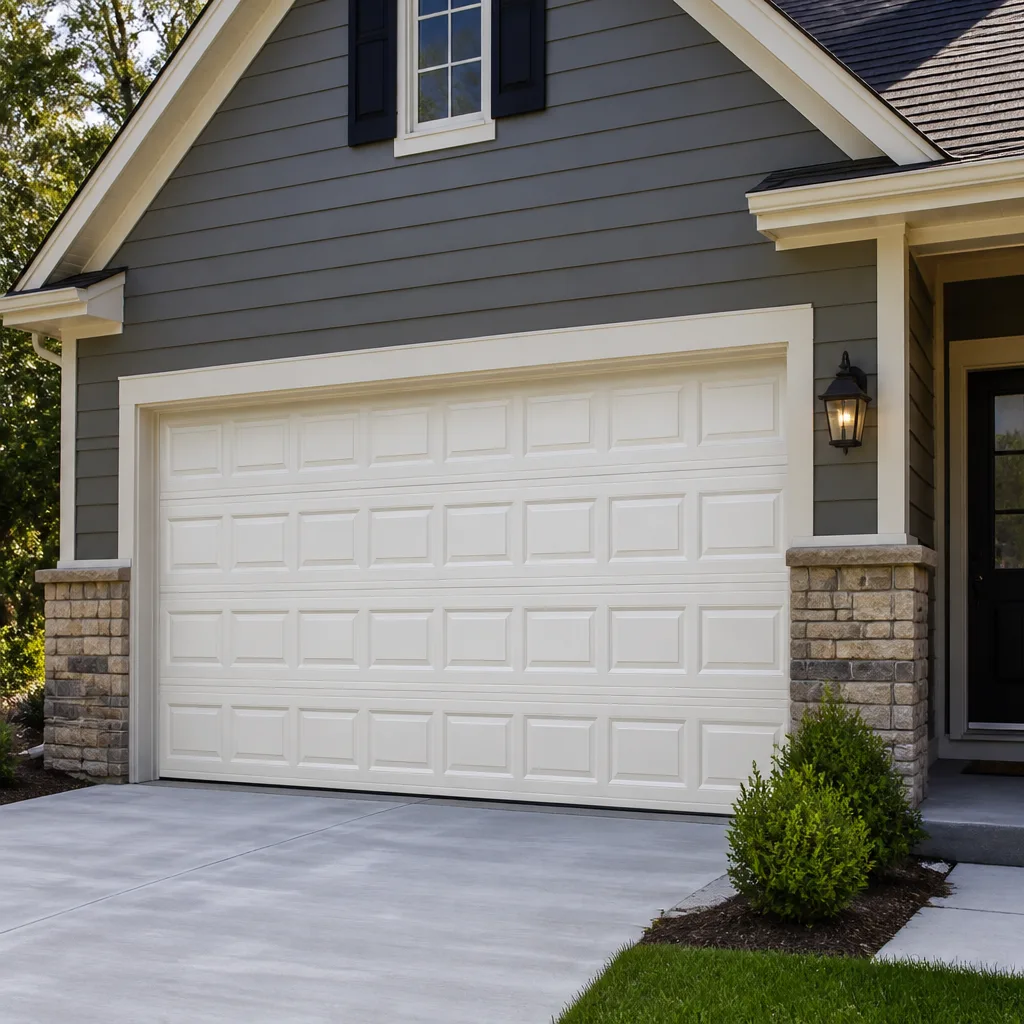 Raised-panel steel
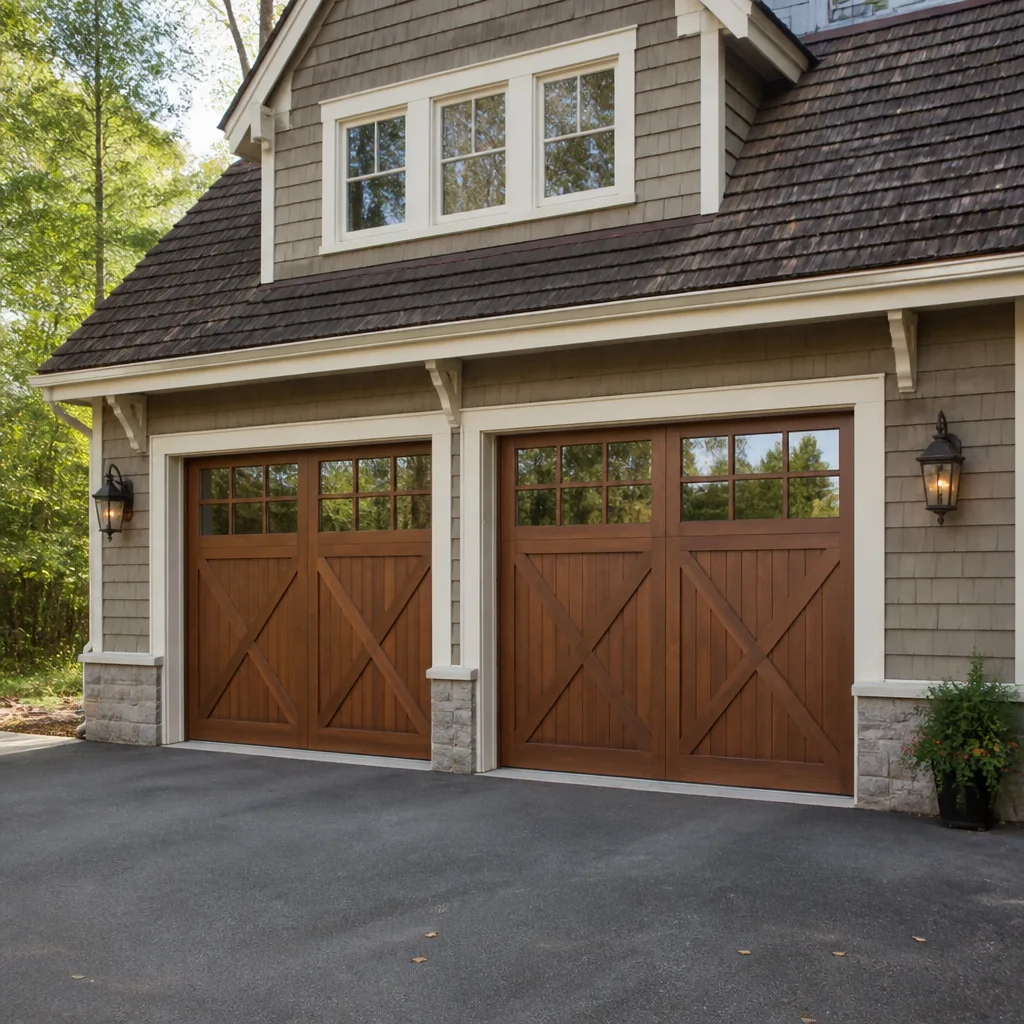 Carriage house
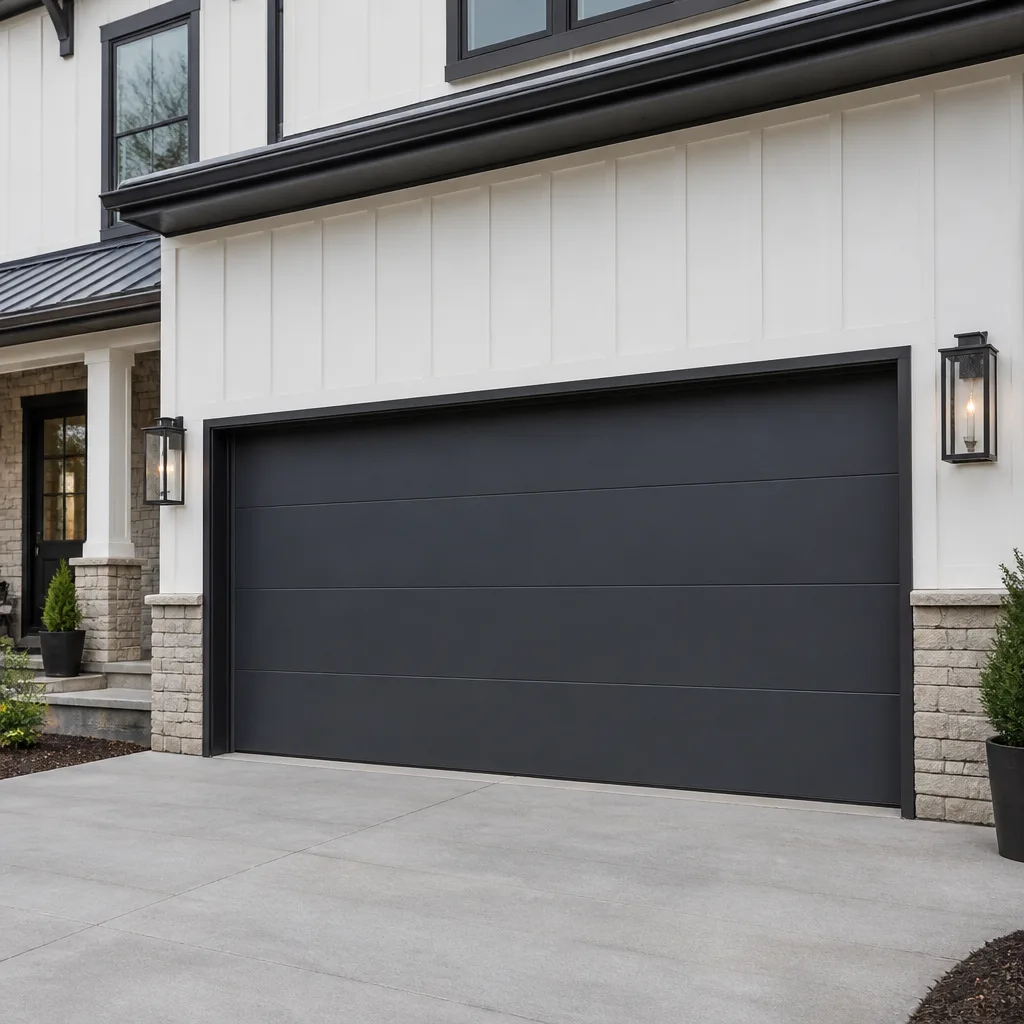 Modern flush
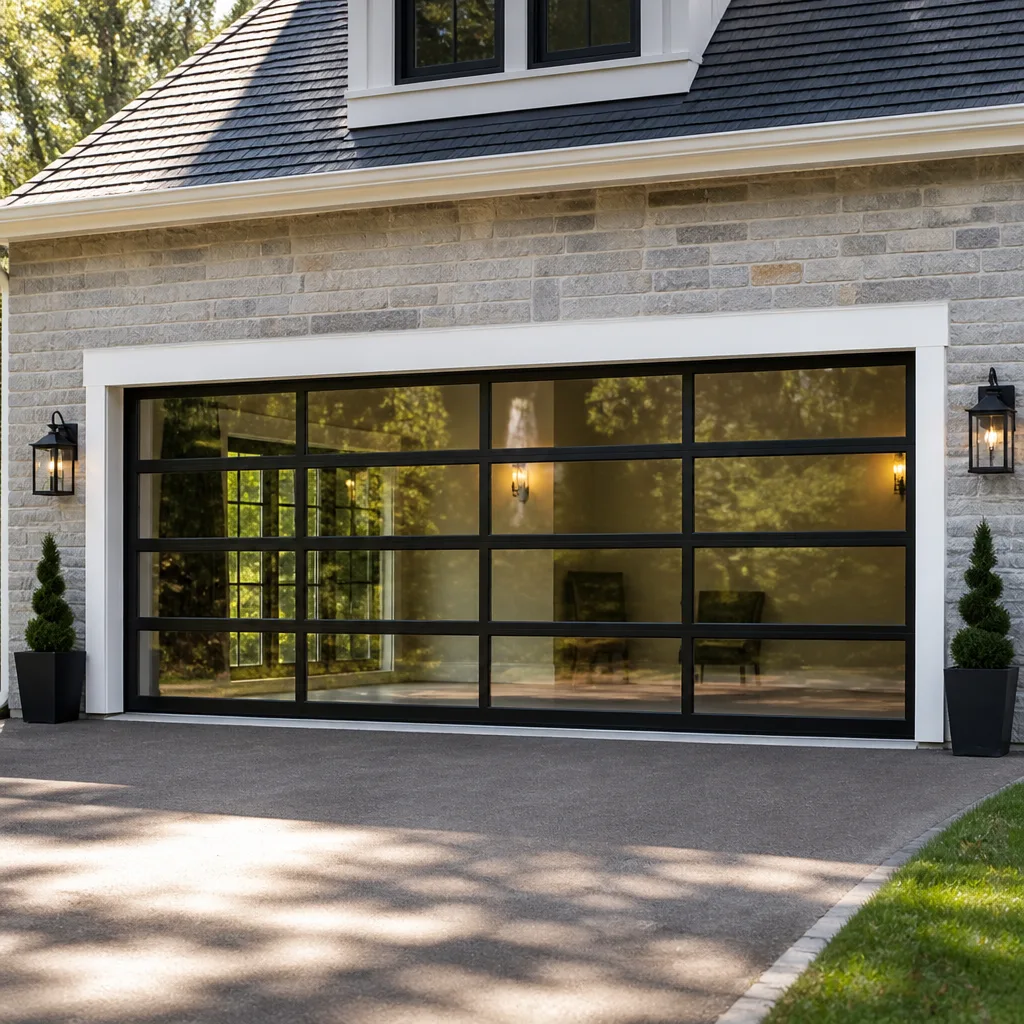 Full-view glass
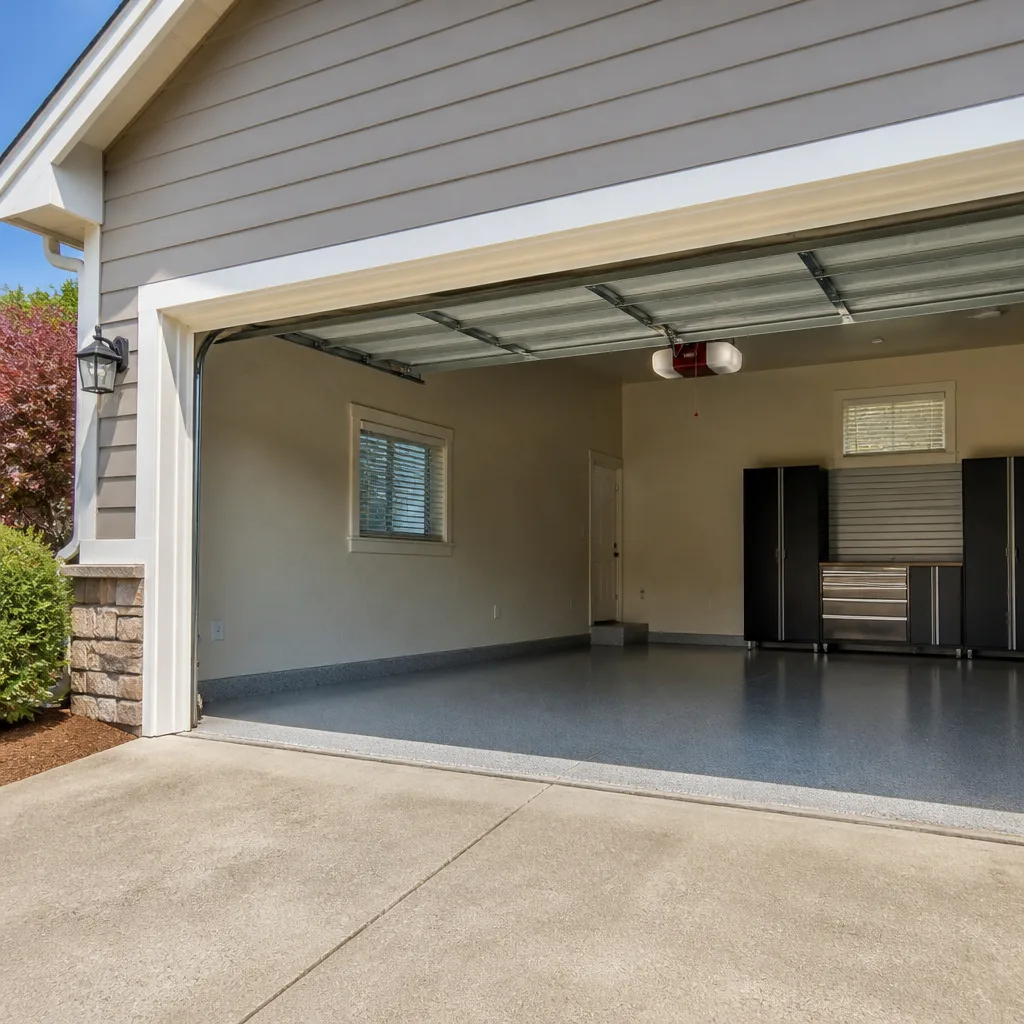 LiftMaster openers
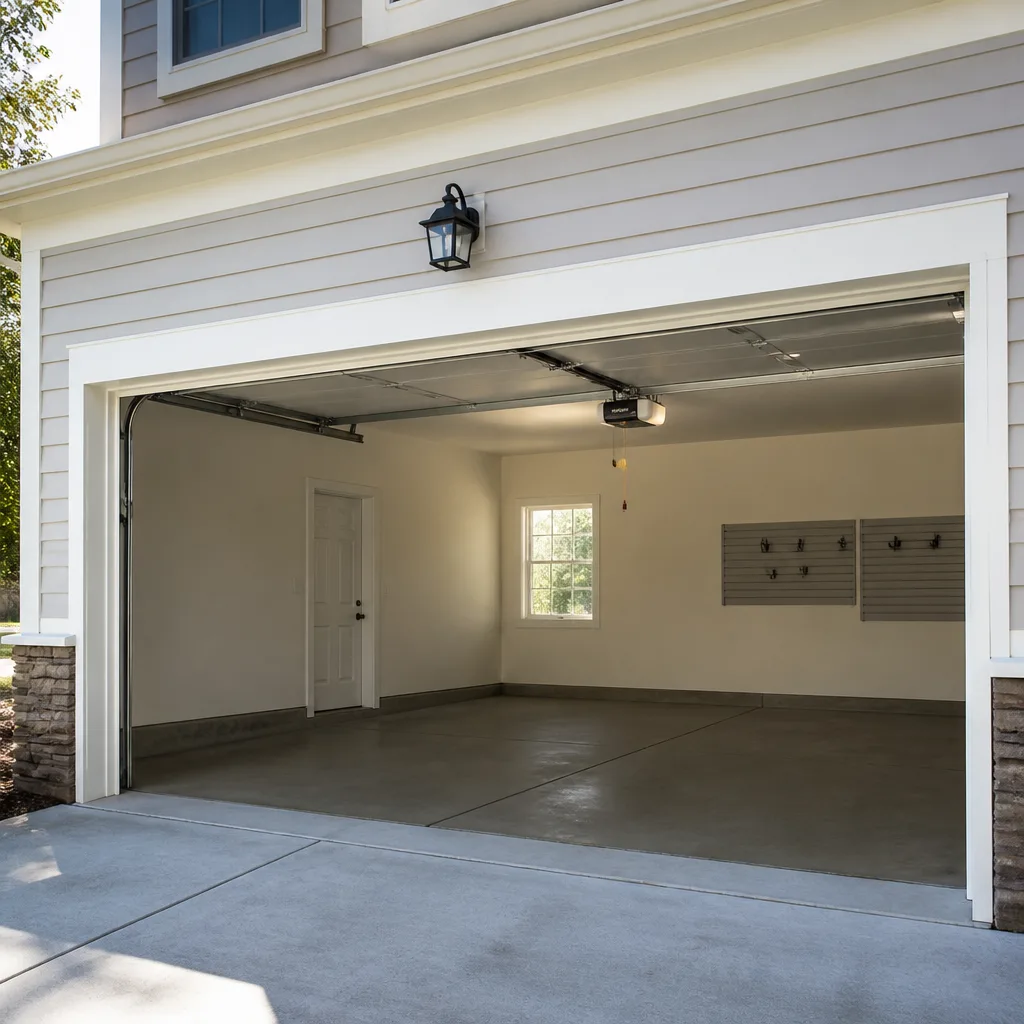 Chamberlain openers
Full 25-point door and opener safety check with every visit - springs, cables, rollers, tracks, and your LiftMaster or Chamberlain opener included
You get a price before we start. It does not change when the pro arrives.
Get your free estimateDIY vs Professional Garage Door: The Hagerstown Homeowner’s Decision Guide
Torsion springs store enough energy to cause serious injury in a fraction of a second. That’s not a liability disclaimer – it’s physics. A 200-pound door’s spring is wound to counterbalance that weight, and an improper release sends a steel bar through whatever is in its path. Most garage door advice online treats every repair as if it belongs in the same difficulty bucket, which is why so many Hagerstown homeowners start a job they shouldn’t and stall on the ones they could safely finish. This guide sorts garage door work into three honest categories: safe DIY, risky DIY, and don’t touch it. You’ll learn which tasks void a LiftMaster or Chamberlain warranty, which tools cost more than a service call, and where your money is better spent.
Quick Answer
Weatherstripping, lubrication, photo-eye sensor alignment and remote reprogramming are safe weekend projects for most Hagerstown homeowners. Torsion springs, cables, bottom brackets, and track realignment under load are not – they’re high-tension repairs that belong to a trained technician, and most homeowners’ insurance will scrutinize a claim where DIY work caused the failure or the injury. The middle ground (opener swaps, panel replacement, roller changes) depends on the door’s model, its age, and whether you have the right tools. If you’re unsure which bucket a task falls into, call and ask before you touch anything.
Styles & brands we work with
- Raised-panel steel
- Carriage house
- Modern flush
- Full-view glass
- LiftMaster openers
- Chamberlain openers
Table of Contents
- The Three-Bucket Test: Sort Every Garage Door Job Before You Touch a Tool
- Safe DIY: The Four Jobs Most Homeowners Can Handle
- The Definitive No-DIY List (And the Mechanical Reason Behind Each)
- The Spring Math: Why $40 Winding Bars Eventually Cost More Than a Service Call
- How a DIY Opener Install Affects Your LiftMaster and Chamberlain Warranty
- Hagerstown Factors: Climate, Housing Stock, and Why the Local Rules Matter
- When DIY Garage Door Work Touches Your Homeowner’s Insurance Claim
- Repair, Replace, or Start Over? A Decision Framework
- Common Mistakes to Avoid
- When to Call a Professional
The Three-Bucket Test: Sort Every Garage Door Job Before You Touch a Tool
The question isn’t whether you’re handy. It’s whether the specific task on the specific door in front of you belongs in your skill set. We’ve seen confident homeowners breeze through a sensor alignment and then get seriously hurt on a spring. The same person, two very different outcomes – and the variable was the task, not the person.
Here’s the sorting system we use when a Hagerstown homeowner calls and asks whether they can handle something themselves.
Bucket 1: Safe DIY
Tasks where the worst-case outcome is an unfinished job and a wasted afternoon. Weatherstripping, lubrication, remote sync, photo-eye alignment. No stored tension, no overhead load, no specialty tools.
Bucket 2: Risky DIY
Tasks where a mistake costs money or causes an injury that stops short of the catastrophic. Replacing a single hinge, swapping rollers on an older door, adjusting the opener’s travel limits, replacing a bottom seal on a door with intact springs. Doable if you have the right tools and some mechanical comfort – and you haven’t disturbed the spring system to get there.
Bucket 3: Don’t Touch It
Torsion springs, extension springs, cables, bottom brackets, drums, and track realignment on a door under spring tension. These involve hundreds of pounds of stored energy in a small steel package. A single wrong move can break a wrist, crack a jaw, or worse. This is the domain of a trained technician, and it’s a specific reason we keep garage door spring repair as its own dedicated service: it’s safety-critical work many general handymen won’t take on.
Walk your door down this list before you start anything. If a job spans two buckets – say, swapping a hinge (Bucket 2) means first releasing spring tension (Bucket 3) – it lands in Bucket 3. There’s no partial credit once tension is off.
Safe DIY: The Four Jobs Most Homeowners Can Handle
These tasks show up on every maintenance checklist and don’t require special tools, permits, or a technician. Done right, they’ll stretch your door’s service life and catch small problems before they turn into emergency calls.
1. Weatherstripping Replacement
- Close the door fully. Look for a straight line of daylight under the bottom seal, or cracks in the rubber.
- Pull the old seal out of its track on the bottom of the door – most retainers are held by a few screws.
- Measure the full door width and cut the new seal about an inch long. A seal that’s cut short leaves a gap at the corners.
- Slide the new seal into the retainer and trim to fit. Same treatment for the side and top perimeter seals if they’ve hardened or pulled away.
2. Lubrication
A garage door has hinges, rollers, and a torsion shaft that all want lubrication. White lithium grease or a silicone-based spray on the hinge pivots, roller stems, and the torsion shaft bearings, once every few months, cuts down on the squeal and the slow wear that eventually takes out a roller. Don’t spray the tracks themselves – lubricant attracts grit, and tracks want to stay dry.
3. Photo-Eye Sensor Alignment
If the door reverses before it reaches the floor, the culprit is usually the two small sensors mounted at the bottom of the track on either side of the opening. They should be aimed at each other, and both should have a steady light. A dust film, a shifted bracket, or a wire knocked loose in the Hagerstown wind will trigger a reversal. Clean the lenses first, then adjust the brackets until both lights are solid.
4. Remote Reprogramming
New remote not syncing? Every brand uses a slightly different sequence – the Craftsman and LiftMaster remotes most homes in this area carry usually pair with the opener’s “learn” button on the back panel. Press it, then hold the remote button within a minute until the opener confirms. If a neighbor’s remote is somehow opening your door, that usually means a fresh code is overdue; the same learn-button process with a factory-reset opener fixes it.
None of these touch tension. That’s the dividing line.
The Definitive No-DIY List (And the Mechanical Reason Behind Each)
When people get hurt working on garage doors, it’s almost always because they didn’t understand what the component is holding back. A torsion spring doesn’t just look dangerous – it’s wound to counterbalance hundreds of pounds. When you release it improperly, that energy has to go somewhere. Here’s what belongs in the “call a technician” bucket and why.
Torsion Springs
A torsion spring is wound tight along the shaft above the door and held by two winding bars at installation. Releasing the set screws before the tension is transferred to a bar is what causes the classic injury – the bar spins off and the spring whips around. There’s no safe way to “eyeball” it. Even experienced technicians use matched winding bars and a winding sequence specific to the spring’s length and door weight.
Extension Springs
Extension springs run along the horizontal tracks on each side of the door and stretch as the door closes. They’re less inherently dangerous than torsion springs – but only slightly. When they snap, they throw the loose end with enough force to break a window. Most extension spring installations include safety cables routed through the middle of the spring specifically for this reason. A snapped extension spring without cables is a serious hazard.
Cables
The lift cables translate the spring’s force into the door’s motion. They’re under constant high tension. Never – and this is the wording we use when a homeowner asks – never put pliers on a cable while the door is under spring tension. A cable that slips free cuts through flesh like a wire saw.
Bottom Brackets
The bottom bracket is where the cable attaches to the door. It’s held by spring tension. Removing a bottom bracket without first releasing spring tension turns the bracket and cable into a projectile. Every year, technicians in this trade treat hand injuries from bottom-bracket releases where the homeowner was “just trying to replace a hinge.”
Track Realignment Under Load
Bent tracks need to be straightened or replaced. But if the door is under spring tension when you loosen the track fasteners, the door can bind or drop. Only a technician trained on the specific door type should adjust a track on a tensioned door.
If you can draw an invisible line between your shoulder and the door’s spring or cable and there’s stored energy on the other side, you’re in the “don’t touch it” bucket. A certified garage door repair specialist should be handling that work.
The Spring Math: Why $40 Winding Bars Eventually Cost More Than a Service Call
The winding bars themselves for a torsion spring cost about $40 – $60 online. That’s the number that pulls a lot of homeowners into the “I’ll just do it myself” camp. But the bars are the cheapest part of the job, and they’re not why people get hurt – using a screwdriver or a piece of rebar in their place is. A screwdriver handle slips. A bar that isn’t hardened steel bends. The stored energy doesn’t care which tool you substituted.
Here’s the math a homeowner usually isn’t running when they decide to DIY a spring:
- Winding bars: $40 – $60 for a set that may never be used again.
- Springs: $30 – $80 per spring depending on size and cycle life (this area’s typical replacement range for a single torsion spring runs about $180 – $340 installed as an estimate, professional labor included).
- Winding sequence: Every spring has a specific number of turns documented by size, door weight, and track height. Get it wrong and the spring over-winds on the first cycle.
- Medical bill if it goes wrong: The average hand or wrist injury from a spring release is a multiple of a service call before a single stitch.
And then there’s the second spring. A torsion system almost always has two springs, and they were matched at installation. If one broke, the other has been carrying doubled load. A matched pair is the right repair about nine times out of ten – and a pair costs roughly twice a single spring, so the professional estimate reflects both. DIY doesn’t make that math cheaper; it just moves the risk from the technician to the homeowner.
One more thing. Springs aren’t the only component rated in cycles – the whole assembly is. A technician will look at the door weight, the cycle life on the spring tag, and the door’s overall condition before installing anything. That diagnostic step is what a Hagerstown homeowner is paying for when they book garage door spring repair rather than doing it themselves.
How a DIY Opener Install Affects Your LiftMaster and Chamberlain Warranty
Opener installation looks friendlier than spring work, and it is – but warranties treat it differently. Most residential opener manufacturers, LiftMaster and Chamberlain included, require the unit to be installed by a professional for the warranty to remain valid in full. A self-install doesn’t always void coverage entirely – the unit’s parts may still carry some manufacturer terms – but in practice, when a homeowner calls to make a claim on an opener they installed themselves, the conversation rarely ends well.
What opener warranties commonly exclude or fight over after a DIY install:
- Labor and trip charges: Even if the part is covered, the labor to replace it usually isn’t. Professional installers often absorb that under their own labor warranty.
- Improper force settings: If the opener was installed with the force adjustment cranked too high (common when a door is stiff), the opener motor’s rated life gets eaten alive. Warranties exclude damage from incorrect force calibration.
- Photo-eye wiring: A sensor reversed on the wrong side of the door, or wired in series with another circuit, causes intermittent reversal. That points to installation, not the unit, and installation errors are excluded.
- Header bracket failures: If the header bracket pulled out after a self-install, the manufacturer will call it an installation issue – because it is one.
The bigger picture: a proper opener install on a Craftsman, Chamberlain, or LiftMaster unit is a half-day job for a technician who already has the rail, the header bracket, the safety sensors, and the app pairing ready. It’s a two-day job – and a warranty headache – for a homeowner doing it the first time. This is why we keep garage door opener repair and installation as its own specialty: the opener ecosystem has its own rules separate from the door itself.
Hagerstown Factors: Climate, Housing Stock, and Why the Local Rules Matter
Garage doors in Hagerstown deal with a specific combination of local conditions that push some tasks up the DIY risk ladder and leave others squarely in the safe zone. Typical of the broader mid-Atlantic and western Maryland climate, the region cycles between freezing winters and humid summers, and a lot of the housing stock sits in neighborhoods where the doors are older, steel, and already on their second or third opener.
Here’s how the local picture shifts the decision:
- Winter freeze and thaw: The bottom seals and perimeter weatherstripping take a beating every season. A seal that cracks in cold weather lets in ice and grit, and the door starts binding on the way up. Weatherstripping replacement is squarely Bucket 1, and it’s the single most-overlooked maintenance item on Hagerstown doors.
- Summer humidity: Hinges and roller stems rust faster here than in drier regions. Lubrication isn’t cosmetic; it’s what keeps a worn hinge from seizing and torquing the panel.
- Older housing stock: Neighborhoods around the City Park area, the North End, and the older streets off Dual Highway tend to have doors that have been through multiple owner cycles. A Wayne Dalton or Amarr door from the 1990s may already be on its second spring, and the roller and hinge wear pattern matters. On these doors, some “safe DIY” tasks (like a single roller swap) can cascade if the tracks were never squared.
- Newer builds: Out toward the Fountainhead and Robinwood areas, the doors are more recent Amarr and Clopay units, often paired with smart openers. On these, remote programming and app sync are the common Bucket 1 jobs, and warranty concerns are the bigger factor on any opener work.
- Wind events: The region’s seasonal wind gusts will shift a mis-tightened sensor bracket on a regular basis. Photo-eye alignment is Bucket 1 for a reason.
Local building code and permit requirements for garage door replacement vary, and the place to check is the city’s building department – we don’t want to guess at a statute number on a page you’re reading for real information. What we can say is that for repair work that doesn’t change the door’s structure or size, permits usually aren’t required; for a full door replacement, ask before you buy the door.
When DIY Garage Door Work Touches Your Homeowner’s Insurance Claim
Homeowner’s insurance is where the DIY question moves from “can I handle this?” to “will my policy cover what happens next?” Two distinct scenarios matter. Each one plays out differently.
Scenario 1: DIY work causes a door failure or injury
If you replace a spring, a bracket, or a cable yourself and the door subsequently fails – drops, binds, or injures a family member – how your insurer handles the claim depends on the policy language. Many homeowner policies contain exclusions for “faulty workmanship” or “improper installation,” which is the insurer’s term for work done by someone who wasn’t qualified. A claim can be denied on that basis. The exact outcome depends on your specific policy, so the real advice is: read the exclusions before you decide to DIY a tensioned component, not after the door has failed.
Scenario 2: DIY work causes damage to the house or a vehicle
If a door drops on a car, or a cable snaps through a window, the claim may still be honored on the property damage side – but the insurer’s investigation will ask who did the last work on the door. If the answer is “the homeowner,” the subrogation question gets complicated. And if the door fell on a person, the liability picture shifts to a review of who was responsible for the unsafe condition.
The pattern is consistent: professional installation removes the workmanship question entirely. If a technician’s repair fails and causes damage, the technician’s liability coverage and the company’s satisfaction guarantee are in play. If a homeowner’s repair fails, the homeowner owns it. That’s the honest answer most articles skip.
Repair, Replace, or Start Over? A Decision Framework
Most homeowners skip straight to “should I repair it or replace it” without asking the earlier question: is anything on this door in the wrong bucket? A door with a snapped spring and intact panels is a repair. A door with three bad panels, a cracked bottom section, and a spring that’s two years overdue is a replacement. The trick is knowing which side of the line you’re on.
Signs you’re on the repair side
- Door still runs smoothly when the opener is disengaged; the problem is the spring, cable, or opener.
- Panels are straight and the bottom section is intact.
- Paint or finish wear is cosmetic only.
Signs a replacement is worth pricing
- Multiple panels are dented, rusted through, or separating at the seams.
- The bottom section is rotting (wood doors) or has rust perforation (steel doors).
- The opener is older than the door and has been repaired more than once.
- The door’s energy performance or noise level is a problem you’ve tried to solve twice without success.
If you’re in the replacement zone, that’s a measured, ordered, scheduled job – not an emergency call. Expect a site visit, an exact door measurement, a written quote, and a lead time while the door is manufactured. Amarr and Clopay both run long lead times on custom sizes, so the sooner you measure, the sooner you install. This is also the moment to ask whether a matching opener upgrade makes sense, since both are being replaced and the same visit can cover both.
What we do best in Hagerstown is tell you which line you’re on without pushing a door you don’t need. Our technicians have up to 15 years of experience, and on a first visit we can almost always tell you the answer in the first fifteen minutes.
Common Mistakes to Avoid
- Releasing a torsion spring set screw before the winding bars are engaged. This is the mistake that sends people to urgent care. If you’re not sure what “engaged” means, you’re not ready to touch the set screws.
- Using a screwdriver instead of a winding bar. A screwdriver’s handle slips, its shaft bends, and it isn’t rated for the torque a torsion spring holds. The $40 in winding bars buys nothing if it’s a screwdriver in your hand at the wrong moment.
- Replacing one spring of a matched pair. The second spring has been carrying double load since the first one broke. It’s a matter of when, not if. On a Hagerstown door with a matched pair, replacing both is the standard move and the honest one.
- Installing a new opener on a door with a worn spring. The opener isn’t designed to lift the door’s weight – the spring is. A crisp new LiftMaster or Chamberlain will burn out its gear or motor on a door that’s 40 percent heavier than it should be at the opener.
- Over-tightening force limits “so it closes all the way.” Higher force settings mask the actual problem, which is usually a binding track or a worn hinge. Crank it higher and you’ve just pre-loaded a safety failure.
- Cutting weatherstripping to exact length before fitting. The seal shrinks and pulls back at the corners. Cut an inch over and trim after the install.
- Ignoring a shifted track because “the door still moves.” A bent track on a tensioned door gets worse with every cycle. If the door is hitting the track or the rollers are popping out, stop using the door.
When to Call a Professional
Call a technician when any of these is true: the door is stuck halfway and won’t move, a spring is visibly broken, a cable is slack or has snapped, the door is off the track, the bottom bracket looks bent, or the door has dropped unexpectedly. Also call before doing a same-day repair on an opener when a new-door installation is a year or less away – a technician will tell you whether it makes sense to repair the existing system or fold the opener into the bigger job.
If a door fails on a Saturday, call and we’ll book you for Sunday; urgent situations where the door can’t wait until the next normal working day are exactly what our emergency service is for. Garage Door Repair Hagerstown offers free estimates in Hagerstown – call (833) 866-7412 and we’ll give you a straight answer on whether the job in front of you belongs in a service call or a Saturday project.
See the difference
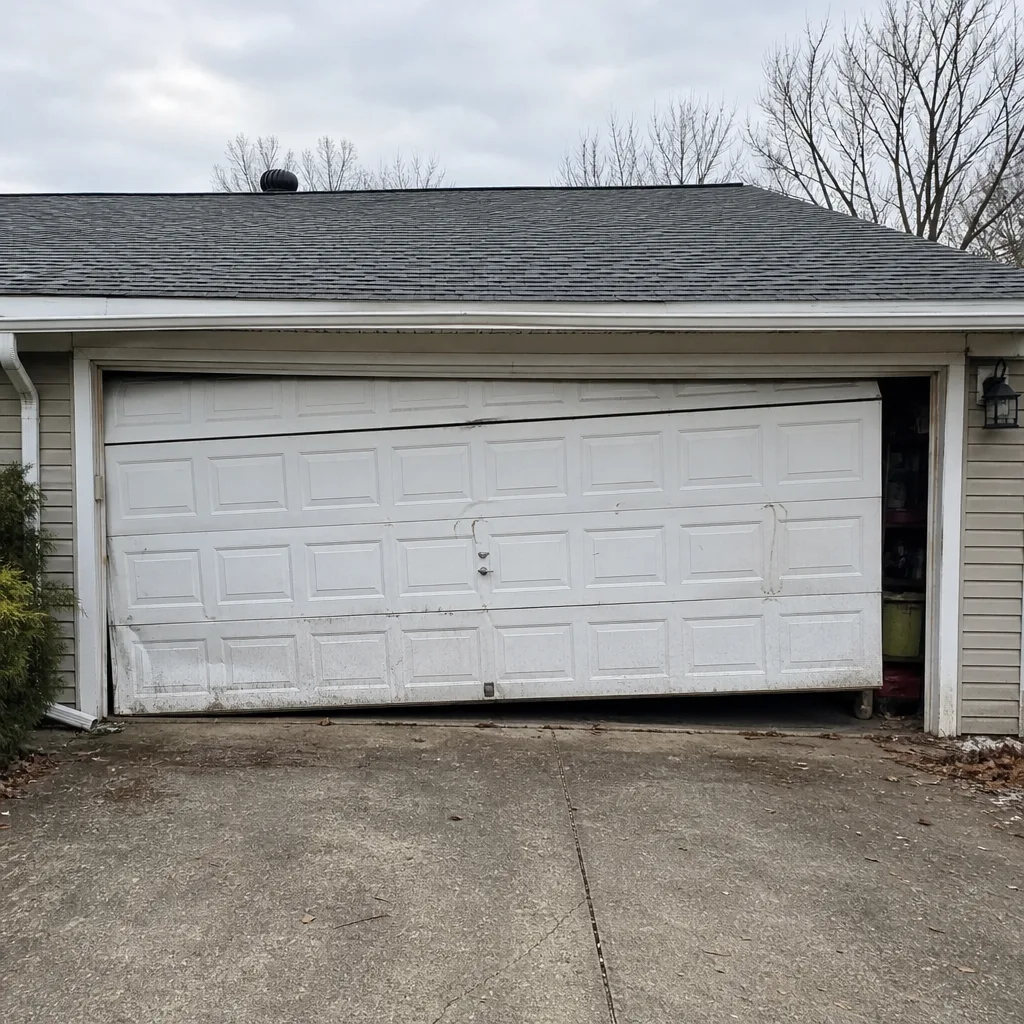 Before
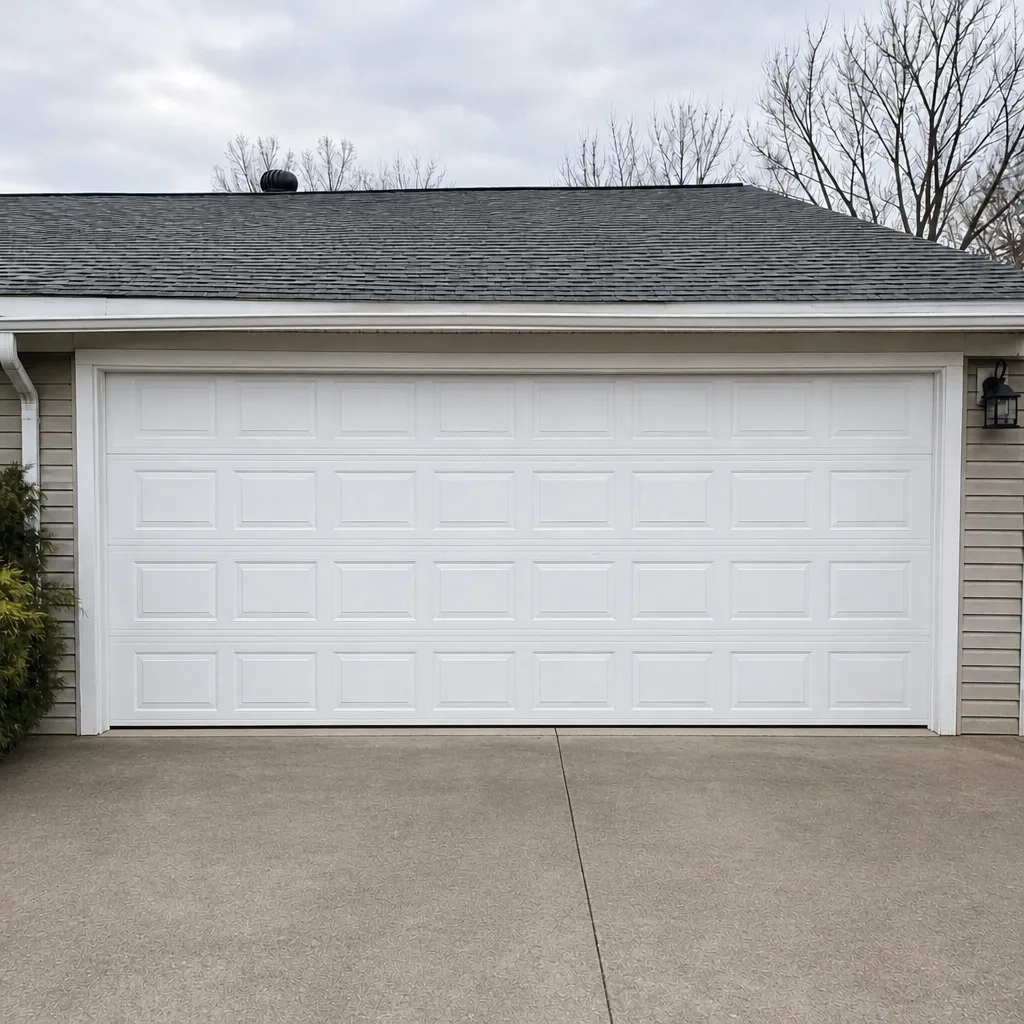 After
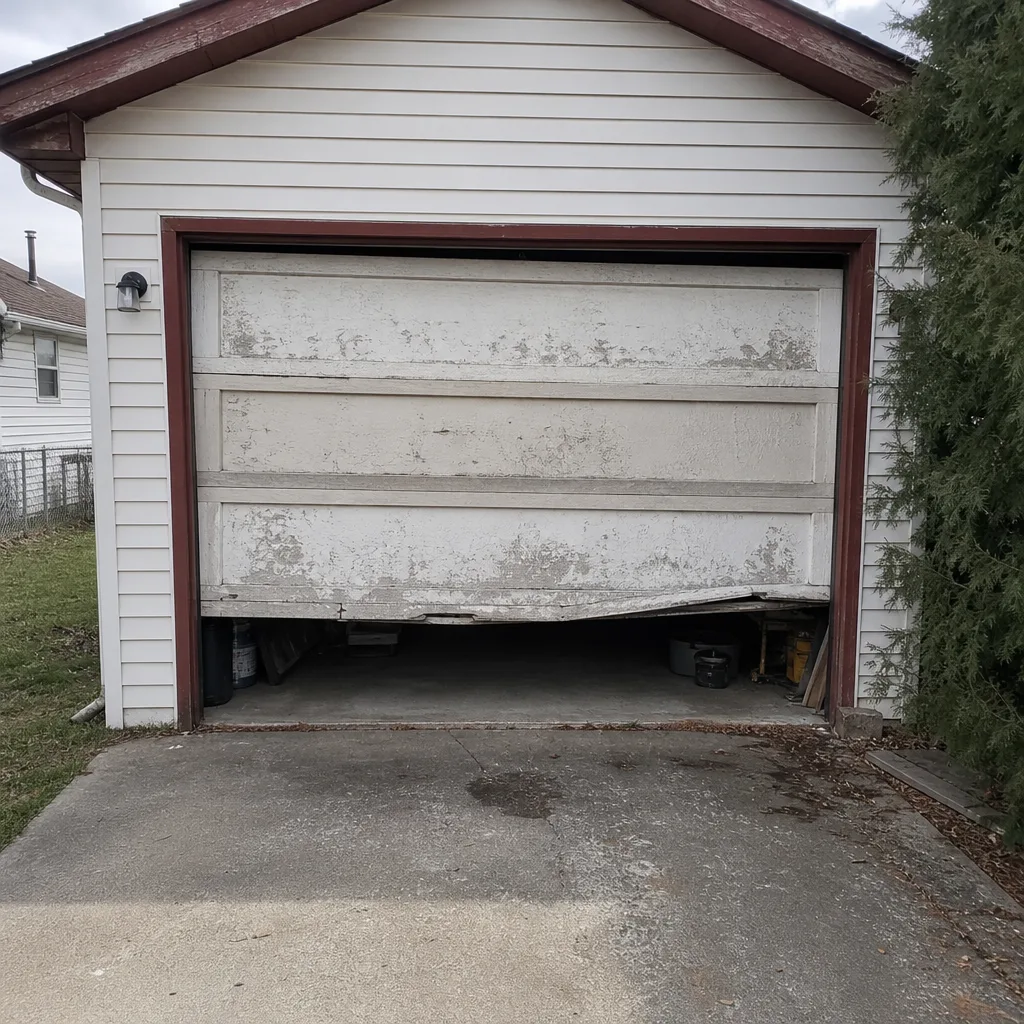 Before
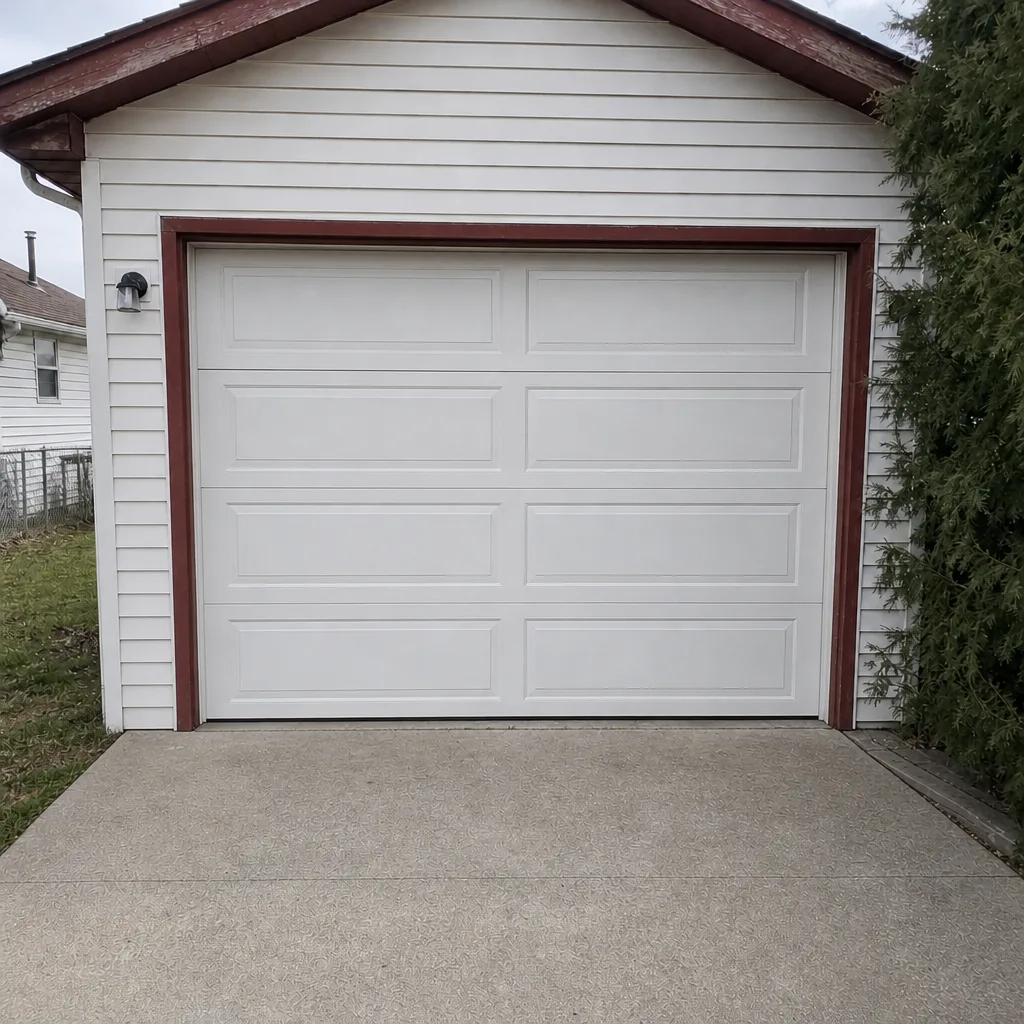 After
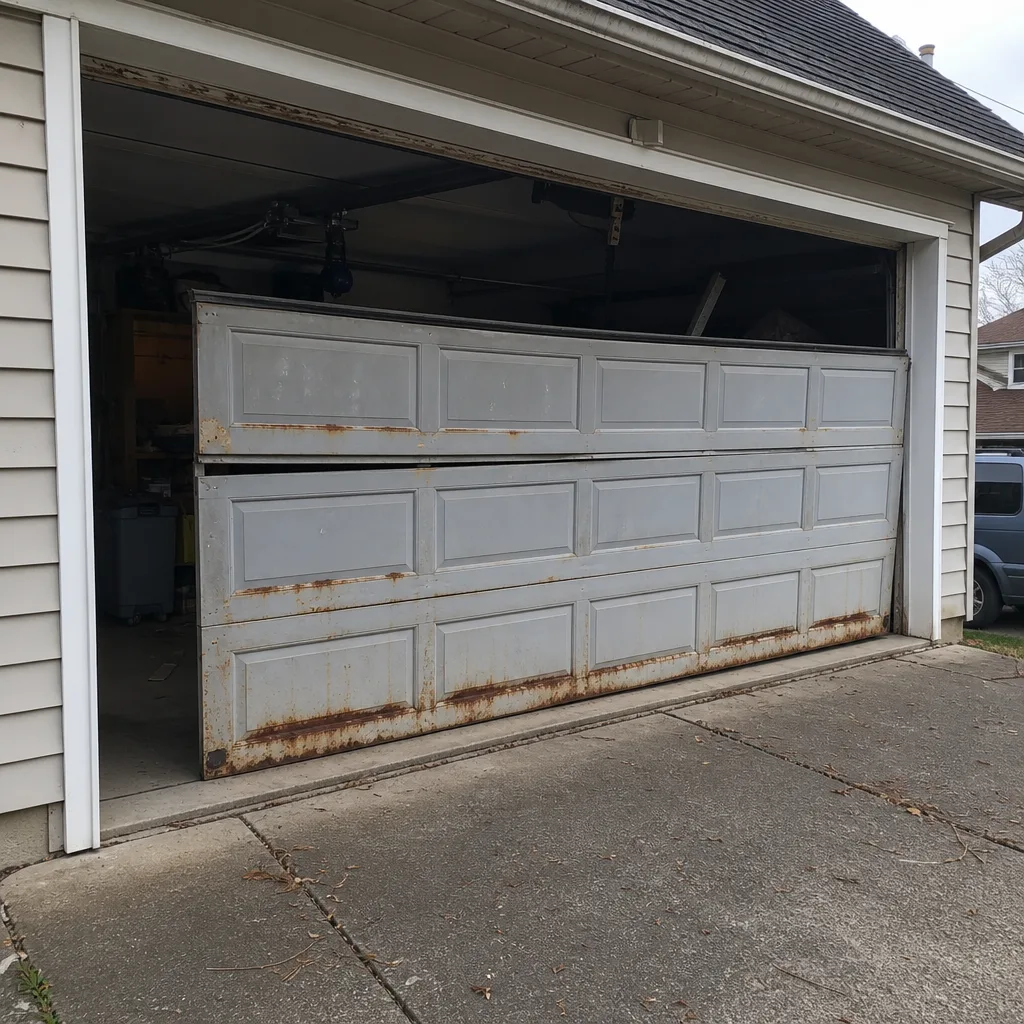 Before
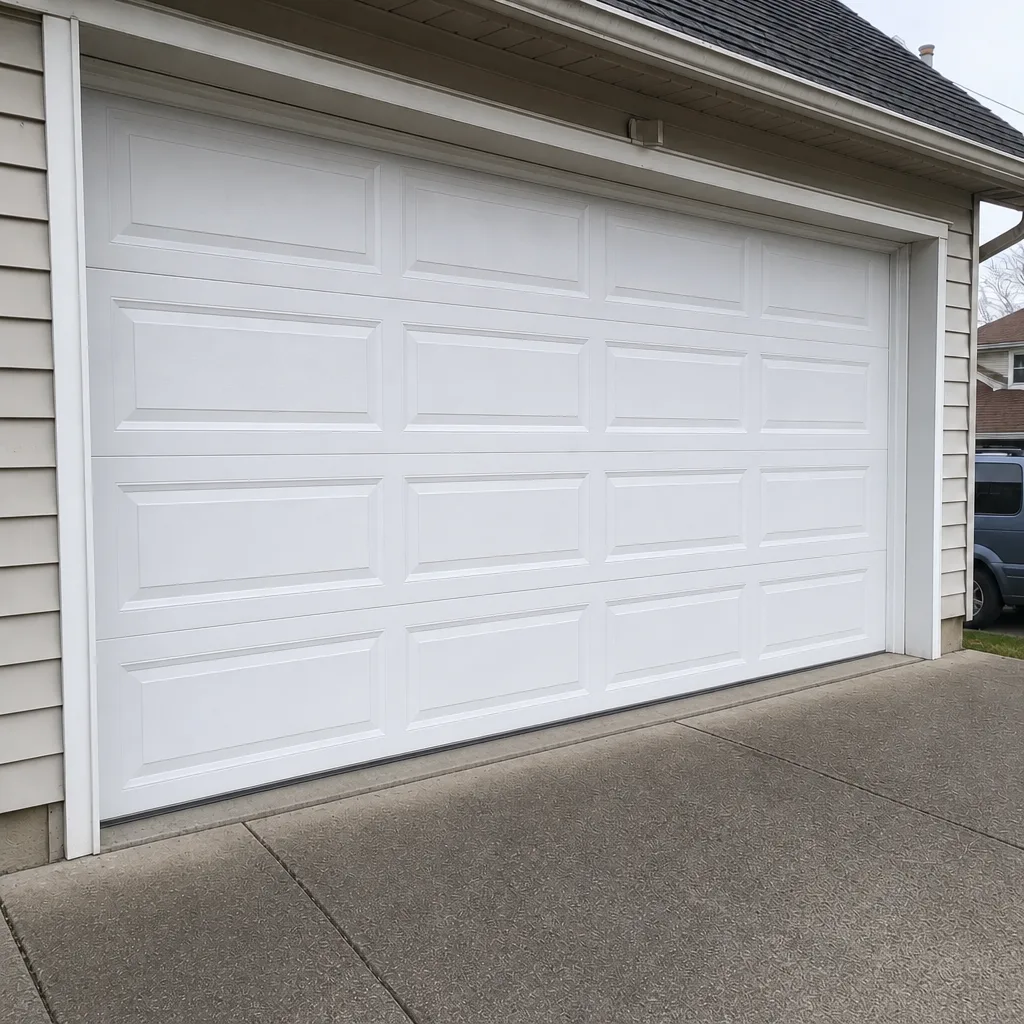 After
Frequently Asked Questions
No – torsion and extension springs are high-tension components that can cause serious injury if released improperly, and the mechanical reason is that the spring is holding hundreds of pounds of stored energy at the moment you touch it. The task requires winding bars, a matched turn sequence, and a technician’s training to do safely. Call us for a free estimate on spring repair instead.
In most cases, yes – LiftMaster and Chamberlain both state that the unit must be installed by a professional for full warranty coverage to remain valid, and installation-related failures (improper force settings, wrong eye wiring, header bracket issues) are common exclusions. Call (833) 866-7412 for a professional installation quote rather than risk the coverage.
Weatherstripping replacement, lubrication of hinges and rollers, photo-eye sensor alignment, and remote reprogramming are the four safe DIY jobs for most Hagerstown homeowners. None of them involve stored spring tension or overhead load. When in doubt, call and ask before you start.
A single torsion spring typically runs $180 – $340 installed, and a matched pair costs roughly twice that since the springs should almost always be replaced together. Your written estimate sets the final price – the technician confirms the exact range before any work starts. Call (833) 866-7412 for a free estimate.
Same-day and emergency service is available for urgent situations where the door can’t wait until the next normal working day. If a door fails on a Saturday, call and we’ll book you for Sunday. Estimates are free – call (833) 866-7412.
The written estimate is the price. If the technician finds something the phone call didn’t cover – say, a second spring that also needs replacement, or a bent track the homeowner didn’t mention – that gets added to the estimate and agreed with you before any work begins. There’s no “surprise” invoice after the fact.
The Bottom Line
Garage door work isn’t one category of DIY task – it’s three. Weatherstripping, lubrication, sensor alignment and remote programming are safe for most homeowners and worth knowing. Springs, cables, bottom brackets, and track work under load are never in the safe bucket, no matter how handy you are. Opener installation sits in the risky bucket because of warranty exposure, not mechanical danger – which is why a professional install on a LiftMaster or Chamberlain box is nearly always the cheaper path. When a task crosses into the third bucket, that’s not a reflection on your skill. It’s the mechanical reality of the parts and the amount of stored energy they carry. For any Hagerstown job in the risky or don’t-touch zones, call Garage Door Repair Hagerstown at (833) 866-7412 for a free estimate and a straight answer on what’s worth doing yourself.
Written by the team at Garage Door Repair Hagerstown.